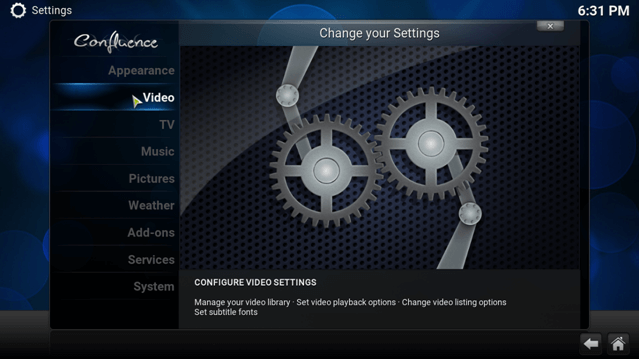
To enable subtitle services in Kodi follow our step by step tutorial below for Kodi v.16 Jarvis:
- From the Kodi Home Screen click System> Video > Subtitles
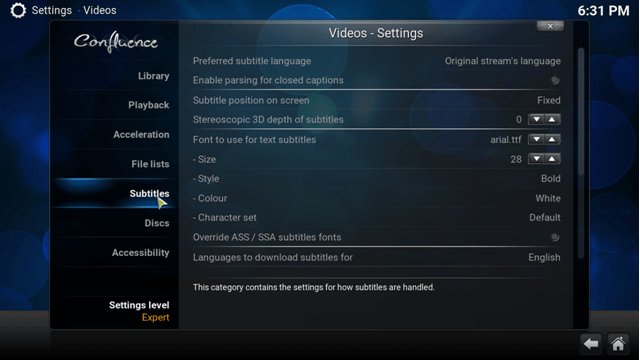
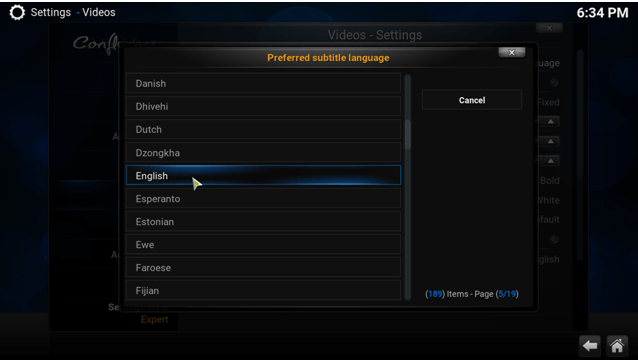
2. In the Subtitle menu click ‘Preferred subtitle language’
3. From the new list scroll down and select ‘English’ or the language you want your subtitles to appear in
4. From the subtitles menu you can choose the
- Position where subtitles appear on the screen (I prefer at the bottom of the video)
- 3D effects in subtitles (keep this off for sake of buffering)
- Font to use for subtitles(use default or simpler fonts)
- Subtitle font size, style and color(use default)
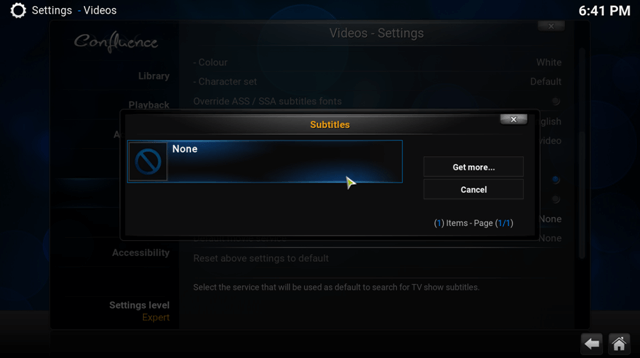
6. Scroll to the end of subtitle service settings you will see two “Default TV Show service”&“Default movie service”
7. Click ‘Default TV show service’, a new box will open up, click Get More
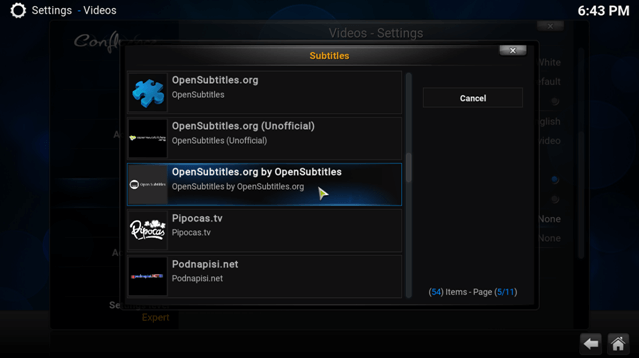
8. From the list of subtitle services you can install the following (you can install others in case you can’t find subtitles in your language):
- Opensubtitles.org by Opensubtitles
9. Next click ‘Default movie service’, a similar box will open up, add the same subtitle services again
10. Your subtitles should now be configured and ready, it’s time to test if they worklets head over to Video Add-Ons
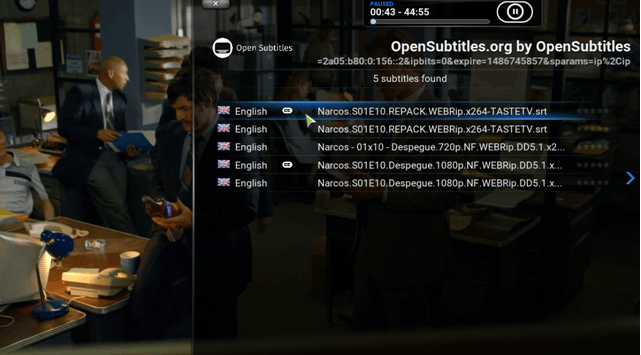
11. I installed, launched Exodus and chose the TV Show Narcos. From the video control panel click the subtitles button and then click Download
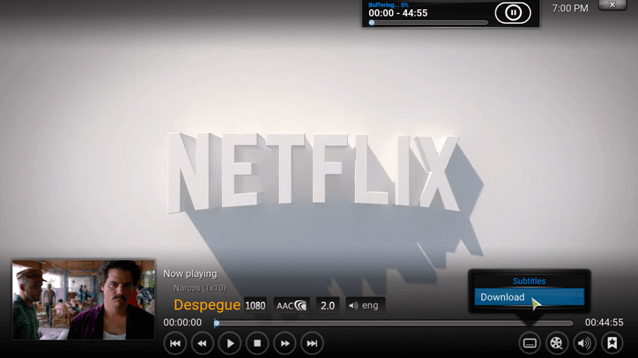
12. You will see a list of available subtitles for the video. Select the one you want and subtitles should begin displaying. (In case subtitles don’t appear, pause video and play again)